
Hello, this post is going to be about my experience with printing a zine. I’ll show you the steps I went through as clearly as I can. This includes a disclaimer, comments on community involvement, dimensions, general layouts, making a rough, printing, stapling, and I’ll end it with my overall thoughts on the experience.
Enjoy! If you have any further questions, feel free to reach out!
Look at the first two previous posts if you haven’t yet!
- lets talk about zines (Introduction)
- On zine drafting! (on making a draft)
Disclaimer:
I’m still very new to zine-making as a whole. If you’d like to learn this from someone with slightly more experience, Try Katie Bingaman- Burt, Johan Saber, or Amaya Jade on skillshare.
Also, look around where you live! I live in Philadelphia, so I run into a lot of really cool people who do this pretty regularly. If you don’t have a lot of people in your immediate vicinity feel free to check out other creators on youtube who provide mountains of resources to learn with. Either way! Happy Zine-ing!
Community involvement/help:
What about people without printers? That’s fine! Ask around!
Zines are as interesting as the communities and groups that influence and/or make them.
Oftentimes, people want to help artists and makers to publish and print their works. It becomes a moment of pride, especially if they like what you’re making.
But here are some other places to try if you aren’t able to find help from a friend with a printer.
- Try a local library. The deals are usually pretty great.
- Try staples/ Kinkos or any local office store. Sometimes you can find good deals. Feel free to ask questions to the people working there as well.
- Look into local universities, especially if you know students, or are a student yourself.
- You can of course, also just get a printer if you can afford it, or you already have one.
Dimensions:
I personally like to keep my dimensions within that of a standard piece of computer paper. That’s 8.5 by 11 inches. If you’re doing this larger than that, know it might be trickier to find a printer.
Once you print the pages, it’s easy enough to fold, cut, and modify them as you see fit. This way you can change the dimensions slightly, but still keep it the same size for your initial print.
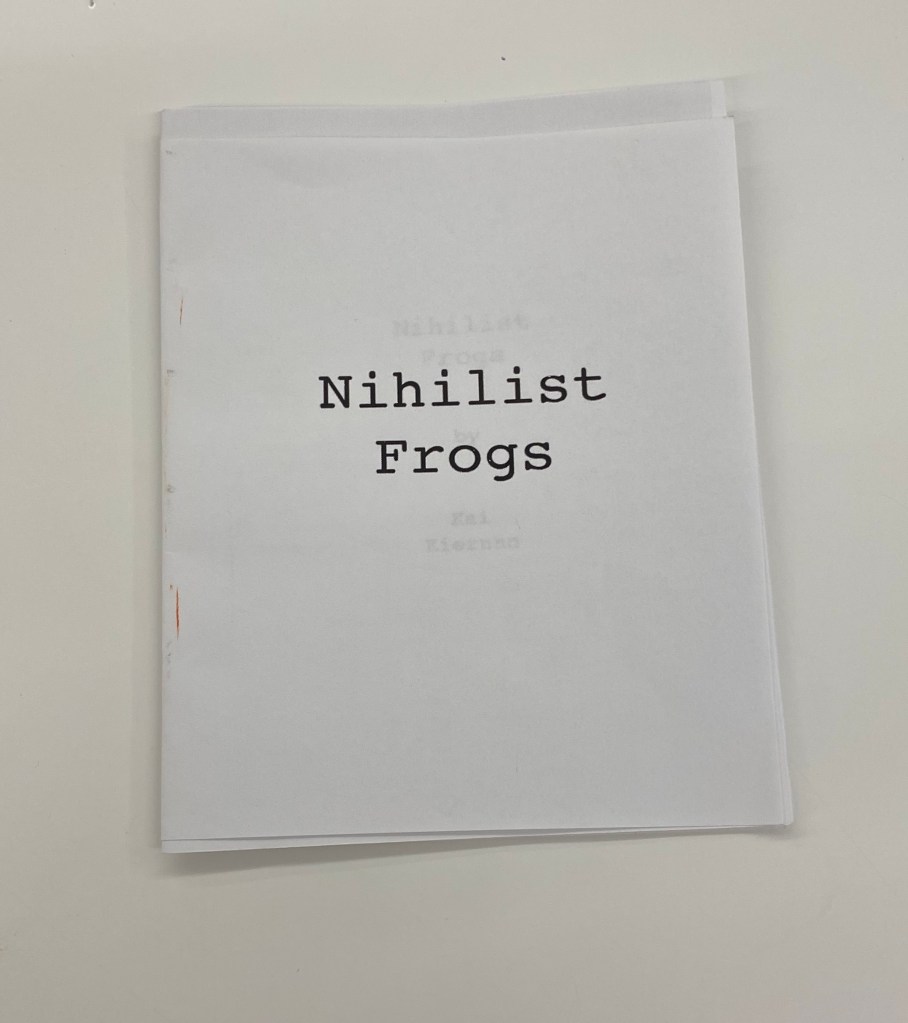
Since I set up my book/ zine to be pocket-sized, my page dimensions were 4.25” x 5.5”. That’s a quarter fold, and when I printed it out for my test run, I left enough space to trim a bit. Ended up looking great! (insert picture of my finished print.
Page layout to be printed.
I worked on this using these steps!
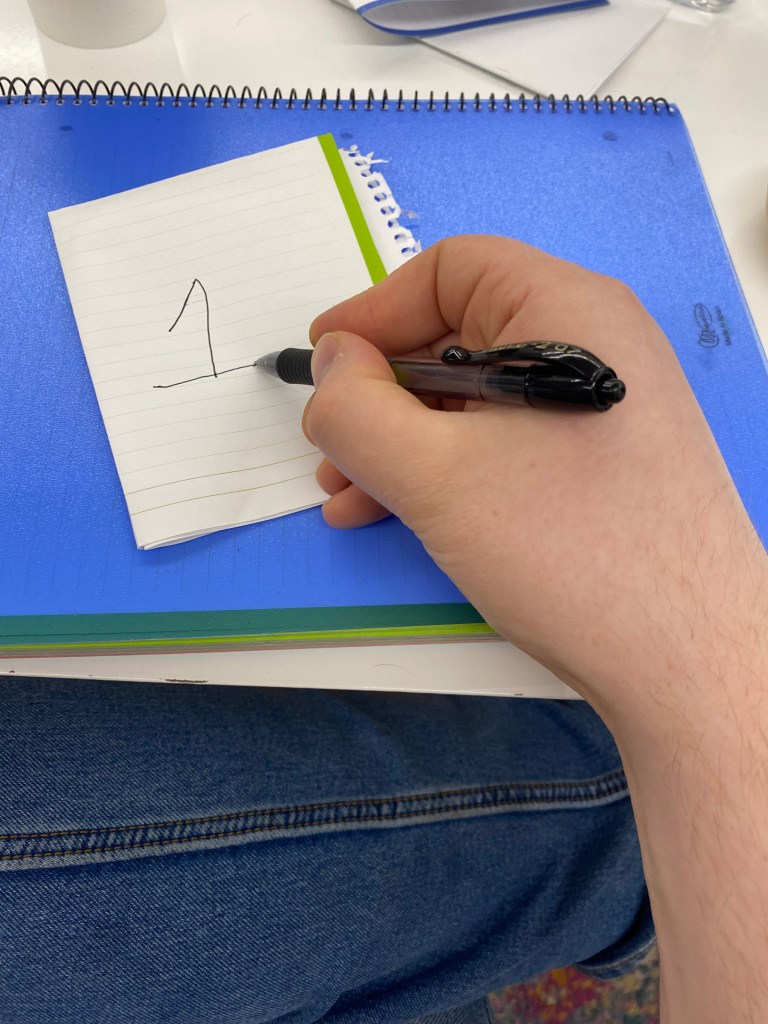
A) make a Rough
-Fold your paper, label with page numbers
8.5 x 11 computer or notebook paper is great.
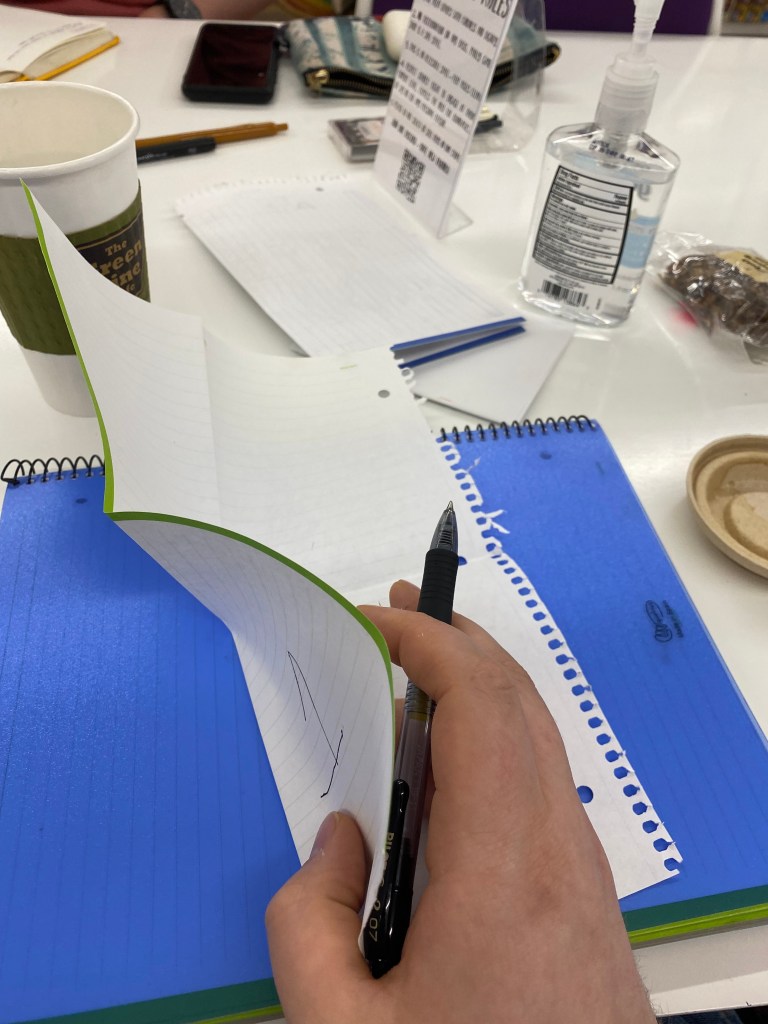
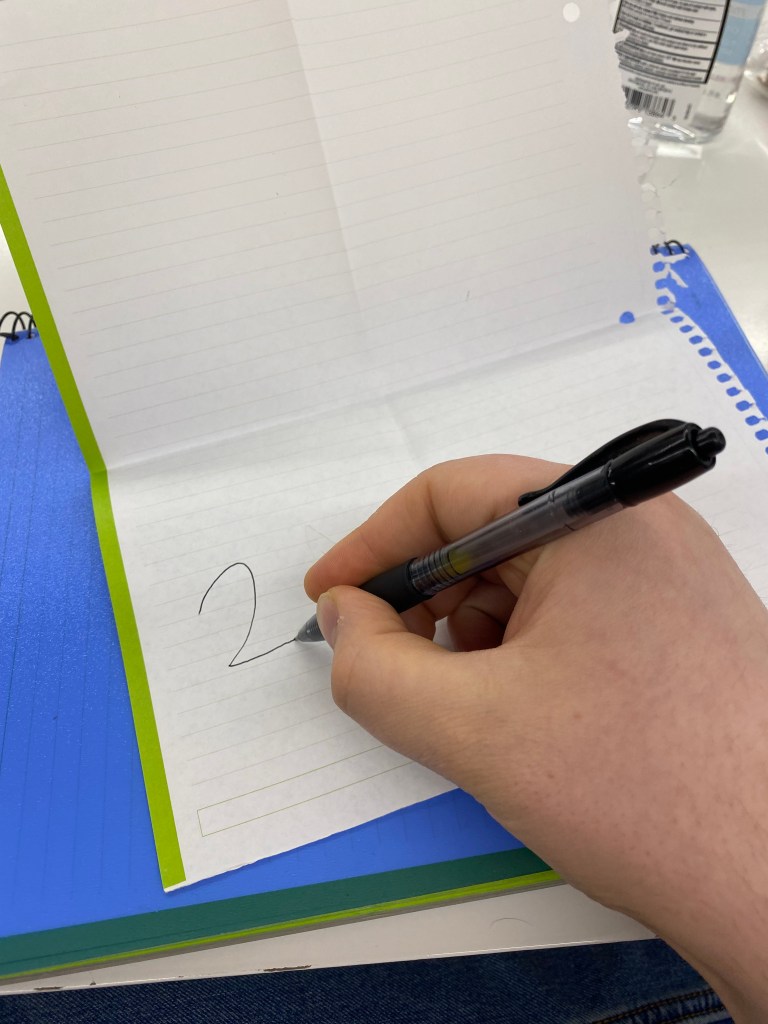
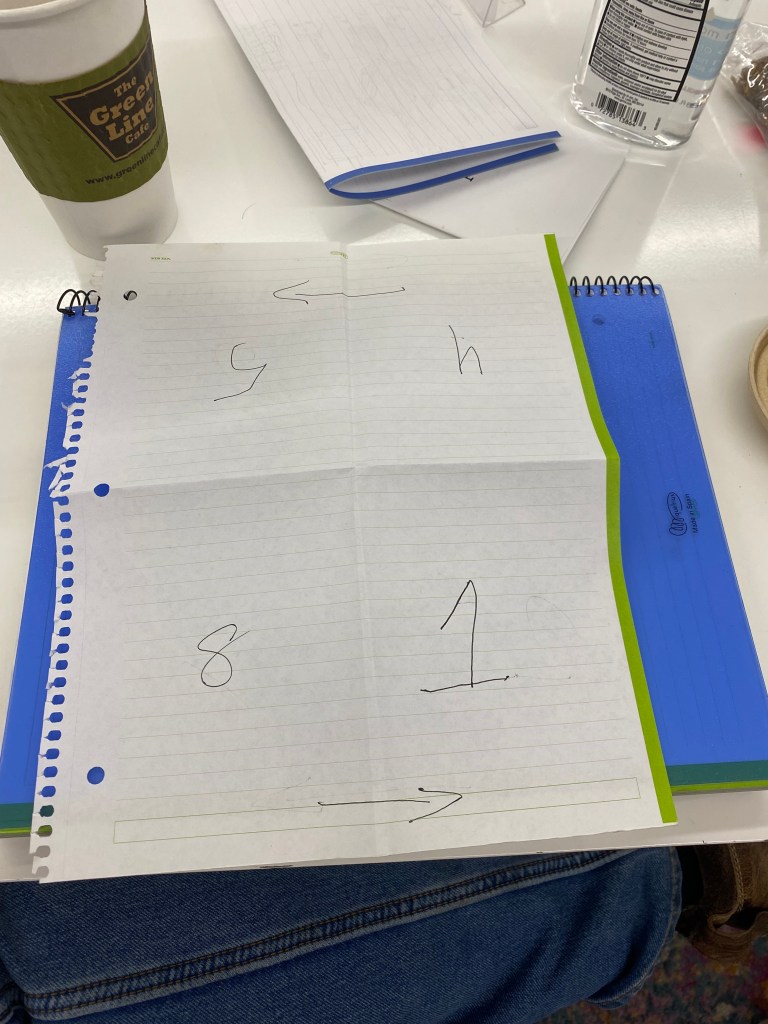
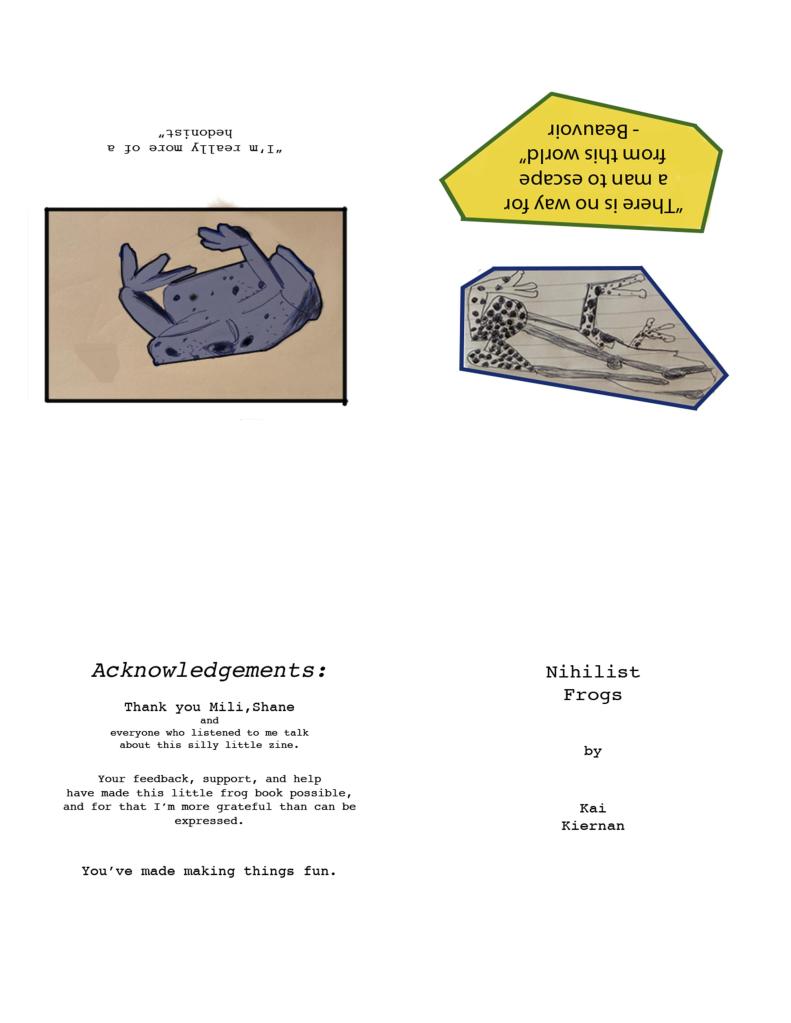
B) Post your pages as laid out as a rough draft. Lay them out as you read them. Here is an example from mine.
After this, all you need to do is print, fold, cut, and staple/ sow it together.
Printing
I used my friend’s boss’s printer to print my zine (they’re the coolest and I love them). This involved sending the rough print layout as a pdf to the shop’s staff email and then they printed it for me. I messed up the first time around, so I printed just one copy of the zine and went back home to correct my mistake. Something I did to make my life easier, was to center the pictures and text and to leave a larger margin so that I could cut the page if I needed to. If one needs a takeaway on printing, be sure to correct it quickly and early on, and pay attention to your margins.
Folding
My apologies for the patronizing tone of this section, where I tell you how to fold various sheets of paper. Chances are you can figure this part out just by doing it, and you’re certainly going to be doing a fair amount of this! So chances are you are going to figure out your own way to do this so it looks just how you want it to.
This section should really be called folding and cutting, but folding is the most important part, so that’s what clicked in for the section title. For this part, you will need hands, a decent eye, and some scissors. I also suggest having a coin to get some very crisp folds.
What I like to do is fold around 3-4 sheets of paper all at once so they have a consistent line. This is especially important if you need to cut across the middle of the book. The secret is to make sure the papers are nice and put together, with the edges of the paper all lined up (so that the cuts are uniform throughout). I set up a little assembly line of all the pages where I make a packet with the pages in the correct order. Once everything is folded, cut appropriately, and together in the correct order, then we move on to the end game. It’s also important to remember that perfection isn’t necessary, and it might even look better with a few pages that are a little roughed up and out of line.
Stapling
For stapling I like to divide the booklets seem up into thirds. I made my pocket-sized, so this works wonderfully, but if your book is much bigger, breaking it up into fourths would work well.
When stapling the book together, I actively choose to have the staples be visible for the back only. It’s something that is acceptable in the medium, but if you’d like it to be more discrete, I would recommend sewing it.
I haven’t tried sewing yet myself, so I won’t speak on it, but I love the way that it looks, and I know it becomes almost a requirement for books once they start getting larger than 64 sheets of paper. That is starting to get into the world of bookbinding (which is a fascinating place to be by the way). Once you finish this step, Congrats! You’re done!

My take on making zines:
I’ve officially made 2 zine-like things to date.
I found it enjoyable. It’s becoming this process of re-finding my love for art projects and creative expression. Something about making holdable things has been really inspiring, and I want to share that with anyone who will listen. I like sharing my little art projects with people and leads to such great conversations. Often times it inspires them to start talking about their own projects, and I love to hear about it.
